Thursday, November 28, 2013

Happy Thanksgiving!


Happy Thanksgiving!!


This isn't so much a tutorial as a just showcase of my first Burlap Wreath & Wishing Everyone a Happy Thanksgiving!


There are ton of different tutorials on how to do this. Mine was a 34" Frame and took 2 10yard rolls of Burlap to complete. I also used some dark brown burlap for the bow. 

I put some little acorns and pinecones on the wreath. I will say I plan to overhaul this entire wreath next year with a lot more bling and some other ideas I have. I ran out of time to do it this year but I think it is a good starting point for an Epic wreath next year :-D


I can't wait till next year to overhaul it and share it with you all!


Happy Thanksgiving!!
Thank you for Reading!


Monday, November 25, 2013

Baby Food Pouch "Roll Ups"

I found this idea while looking for looking for homemade fruit roll up type snacks. This is such a great idea!!


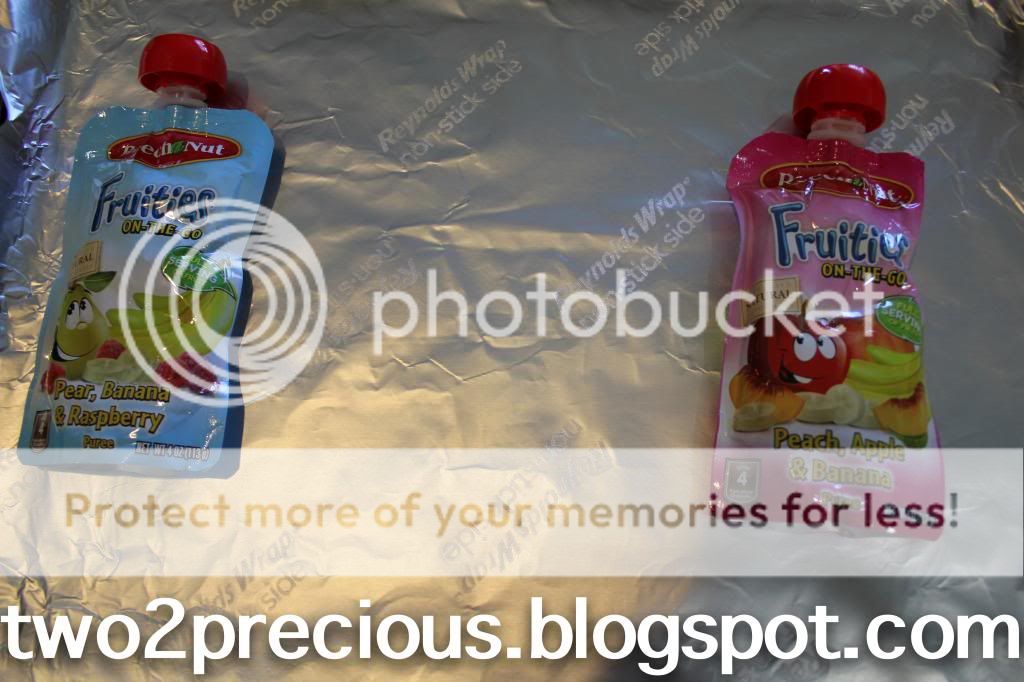
These are "Fruit Roll ups" using Baby/Toddler Food Pouch food. I used the ones without chunks but i would assume you could do that as well.


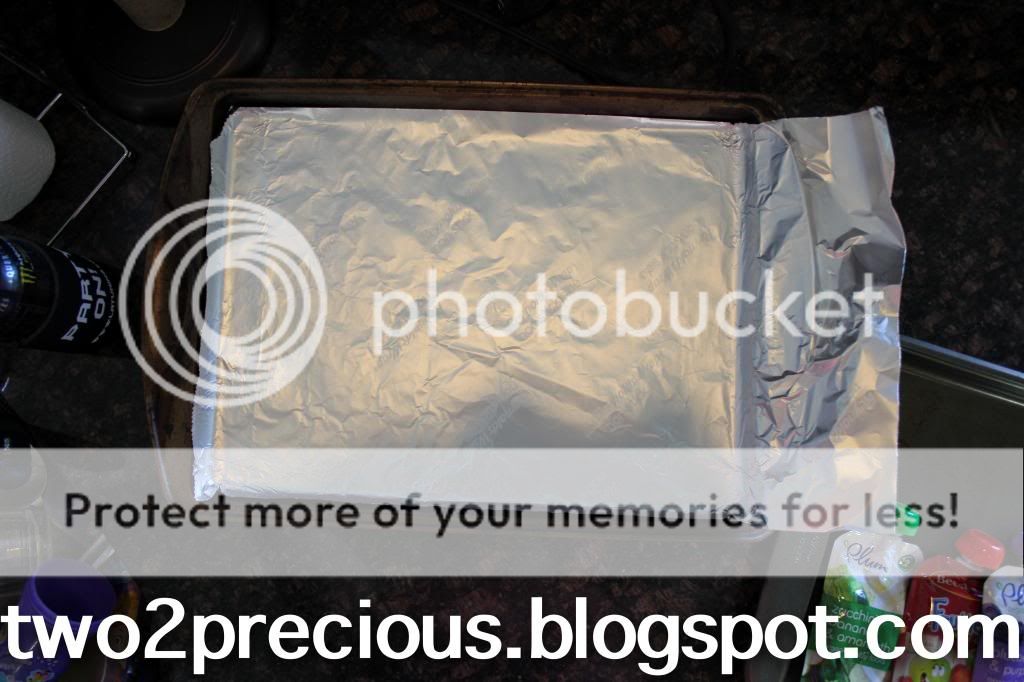
I used cookie sheets with Reynolds Non Stick foil but you could use parchment paper as well. 
I then picked out a variety of flavors for the "Roll Ups"


I then emptied the pouch on to the foil, I put 2 different flavors on the same cookie sheet cause i didn't have many cookie sheets to go around.


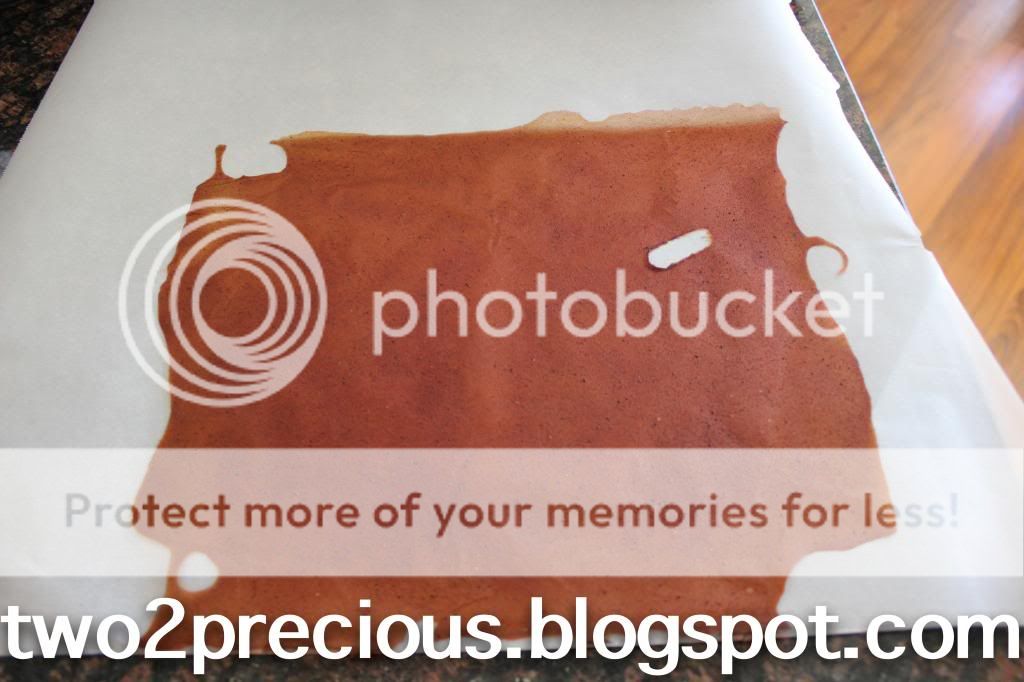
I tried to spread out the baby food with a spatula but that became hard, I ended up shaking it to spread it out and If I could give one tip, DO NOT make it TOO THIN! IT dries into leather and I think if it was left a little thicker it would be better. 


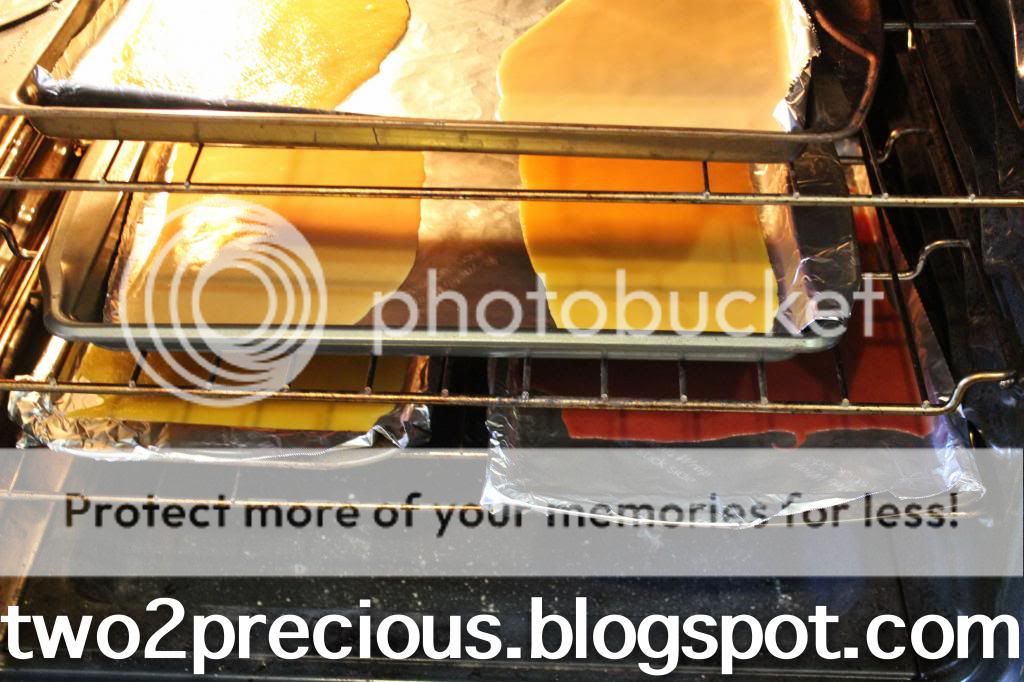
Then set your oven as LOW as it will go, mine only goes to 170 but I have read 140 is better if you can do that. 


Set the timer for about 4 hours ( thats what i did cause i filled the oven with all the cookie sheets of food i could) but do small intervals so you can monitor the progress of the drying process. Another thought is, use a food dehydrator!! I wish i had one I would have so done this method!


Now, this is the tricky part cause some of mine where thicker and not spread like the others so they all finished at different times and then dumby me got really busy and forgot the other ones and they turned into LEATHER! still good but harder for the little ones to eat. I would suggest keeping them thicker and not letting them dry completely out, like i did :-p


I then Peeled the entire dried piece off the foil and put them on parchment paper and cut them into strips and rolled them up!!


Shame on me never got a finished product but turns out my girls didn't even want to try it!!! I ended up giving them all to my Sister in law and her son loved them! So I would say if i could ever get my girls to try them they would like them also, after all they would eat the food straight out of the pouch just fine! I really want to try making my own puree but that sounds like a another project for another day! :-p
Hope enjoyed this tutorial!! 

Happy Thanksgiving! 

Sunday, November 24, 2013

Baby/Toddler "Trail Mix"


My inspiration for this post was trying to find different and new twists on snacks for my girls.

So as usual I set out on Pinterest for inspiration. I found quite a few ideas and one being a Baby "Trail Mix". Using things we already give our Little Ones but just adding them all together in one mix! I made this after they went on a awesome sale at my local Smiths Food & Drug. Yes, they aren't all organic and you could for sure substitute any organic baby snack in for the ones pictured here. 

Here is what i put in this mixture. 


Baby "Trail Mix"


  I then dumped everything into a big bowl. You can change the ratio however you would like. I have even started to brain storm a mixture for my 3 1/2 year old.


I then took the Labels of the "Puffs" containers so i could reuse them for this mixture & put them in the diaper bag. Because the volume is bigger than what came out of these containers I did have to use a plastic storage container for the rest. 


 Once you have achieved the perfect mixture start filling up your containers!!


I would LOOVVEE to hear what combos you come up with! I will definitely post when i come up with one for the older kiddos!! 
Thanks for reading!! Hope this comes in handy for all those who will be traveling for this holiday season! 

Monday, November 11, 2013

DIY Dishwasher Tablets ROUND 2!

Round 2 of DIY Dishwasher Tablets


PLEASE NOTE: Don't add the Vinegar! See the note below! 

So a few weeks ago I made my 2nd batch of Dishwasher Tablets & did a few things different. First of all I'm no scientist so I didn't not know this would happy but adding the vinegar resulted in A ROCK SOLID mound of detergent. haha Learn from me and don't do that :-p! Use the exact same ingredients for everything else but scratch the vinegar.


Another thing that prompted this change in recipe was 1 for just testing purposes but also I was experiencing some HOOIRRIBLE film on all my dishes and i had to SCRUB it off! Well much to my surprise our water softener got unplugged accidentally and that was causing some MAJOR issues because of the INSAIN hard water our untreated city water is like. So that was relief but also a huge problem because I'm now not sure what advice to give those who have hard water. Even with the water softener I use vinegar in my rinse agent and of course these recipes for the detergent but man I feel for those who do not have a water softer and have hard water! I hope someday to perfect the recipe and be able to help those who do have hard water. If you are suffering from hard water and have found a homemade dishwasher tablet recipe that works for you please share!! :-)


So far these tablets have been okay, Im not really happy with them completely because I couldn't get them as wet as I wanted since the vinegar didn't work out. So Im not sure what it reacted with to case the problem but I'm thinking it was the citric acid. My next test will be with Kool-Aid Unsweetened lemonade packets. I used the Lemon EO to make a somewhat wet sandy consistency and giving me the ability to pack them into the ice cube trays well. Once dried they came out very very crumbly and honestly most have broken up and turned back into powder. The powder hasn't hardened like i have read some people experience with homemade dishwasher detergent. 

Another thing i have learned is to only fill the trays half way. With this homemade detergent you do not need that much of it for it to be effective. I sometimes will use 2 tablets if i have really dirty dishes but 9 times out of 10 i only need that 1 tablet. 


1 More trick i learned was taking 1 of the 2 tray's ( since they stack on their own normally ) and filling the 1st tray and then "stacking" the other tray on top to pack the mixture into the tray and not having to use my fingers to try to pack it well. It always makes a more even measurement too. 

I wanted to note as well: When you are string the dry mixture do your very best not to breathe it in. For some reason that citric acid bothered my lungs badly. I have a over head fan on stove that sucks the air to outside and i turned that thing on high while i stirred the mixture. 

Over all I'm not happy with this recipe, it cleans fine but its a huge hassle considering the breathing issues I had and not being able to get a wetter sand consistency. 

Im really really hoping the kool-aid mixture will work better or otherwise I will be going back to mixture #1. I will keep you all posted!  


Thursday, November 7, 2013

Halloween Treats!


This is a bit late for halloween but could be altered for Thanksgiving treats!

My sister in law & I got together to make Carmel Popcorn & Halloween Puppy Chow. 

Here is the recipe i used for the Puppy Chow:    Halloween Puppy Chow
I did make 1 alteration and that was using some broke up pretzel pieces and covering them in the carmel we used for the carmel corn. I wanted to add a sweet and salt touch and these were perfect! 


I forgot to get the exact recipe from my sister in law for the carmel corn but pretty much, air popped the popcorn & then made a carmel recipe from karo syrup, brown sugar, butter and vanilla. It turned out AMAZING!!

What I'm really focusing with this post is our packaging. We decided to do Mason jars for the popcorn and then i used my Silhouette Cameo to cut the letters & then used ribbon and deco mesh to do the rest. My sister in law came up with wrapping the deco mesh on the jar and I thought that was so cute!! The treats bags were just bought at Wal-mart and were more for the kiddos :-) I think over all they were a hit! 


Sunday, November 3, 2013

Batman & Robin


As promised, here are some pictures of my girlies costumes! They are what you call Tutu Dresses, I found a few different tutorials on Pintrest to get my started. I also just printed off stencils for the decals and cut those out of felt and hot glued them on to the tutu dress tops, the straps are just sparkly type ribbon ( bought at walmart ) that i had on hand. Here are some pictures that i took along the way of making them:


With Both Tutu's I put them on books or some sort of hard surface so that I was able to stretch the bodice just a tiny bit to be able to navigate the holes on where to put the tulle.

Another thing i figured out is buying the tulle in spools instead of off the bolt. SOOOO much easier and then i just measured how long i wanted it on each girl and then found a book or box that was that length and wrapped the tulle around that object and cut one side for my strips of tulle, it went soo fast! and to make a fuller better looking tutu, you take two of those strips and lay them on top of each other and then fold in half and then start looking in through the holes on the bodice. That was such a better way to do it. I have made a tutu using just elastic and it turned out really bad looking. I highly recommend using a crocheted bodice for the any tutu. I ended up putting long sleeve shirts on under the tutu to provide warmth and modesty. Another option is to cut on strip of the tulle about an inch shorter than the other and then you get a layered effect. You can cut the strips to dress length or shorter. Its totally customizable!

The batman mask was cut from two pieces of felt using a stencil from the internet and then sewn together with a piece of elastic to hold it on. I have seen paper masks with ribbon also and that would work too. I wanted something a little sturdier since was doing pictures and then trick or treating.  


Kendall's tutu ( Robin ) seemed to do a lot better since it was shorter, Shelby's ( Batman ) got a little balled up and nasty on the ends from it being a little too long but over all I'm very happy with the results and will be making more of these types of tutus in the future! They both got way too much candy and making it very hard for me to stay out of it!! hehe


I would love to hear what your kiddo's were for halloween! Hope everyone had a safe and candy filled holiday! ;-)