Showing posts with label Gifts. Show all posts

Thursday, December 5, 2013

Sock Snowman


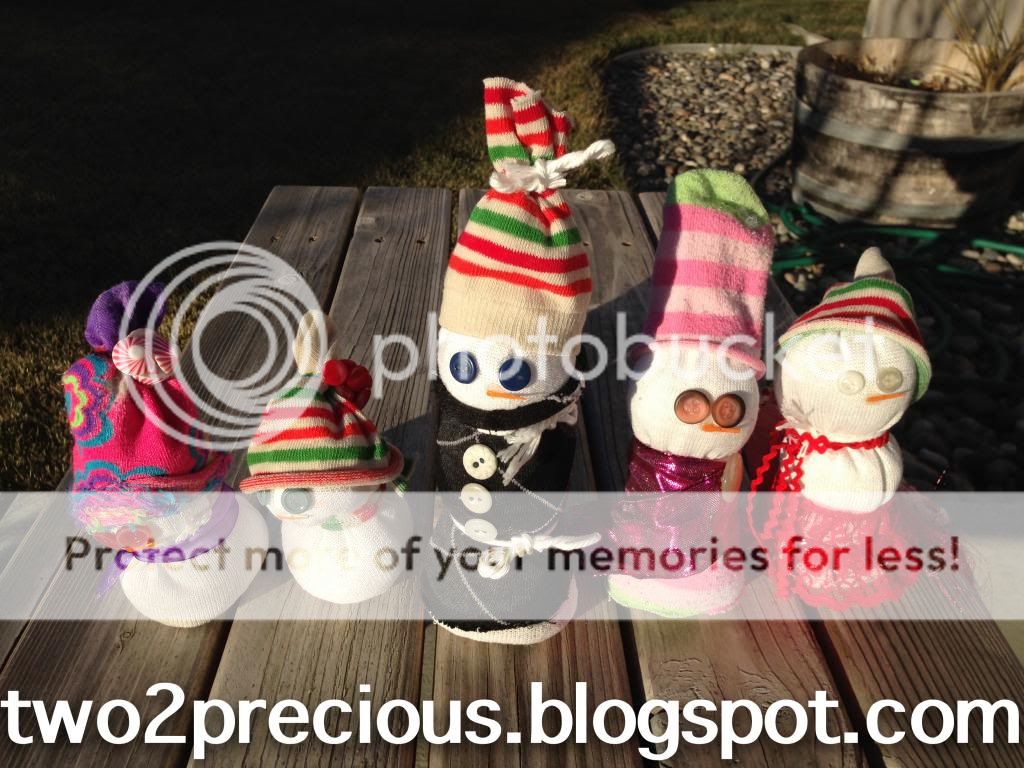
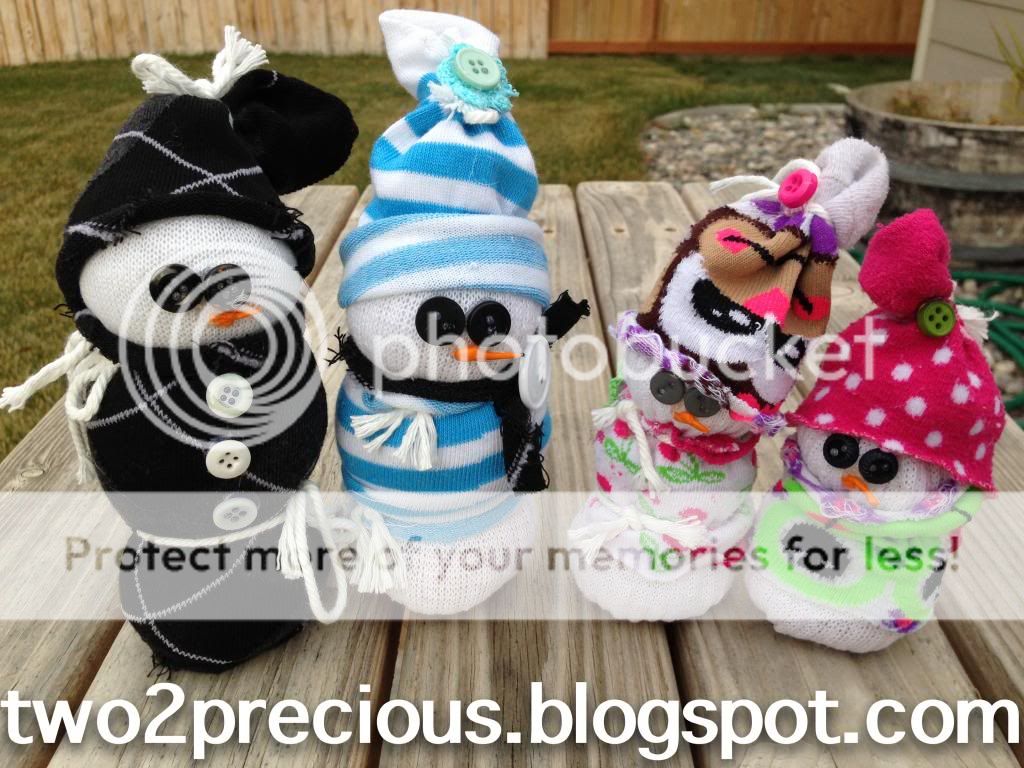
I made a Christmas Wreath a couple weeks ago ( Tutorial Here ) & wanted a Snowman theme but could not find a snowman I wanted to add to the wreath that I liked. So of course, make one yourself!! So i found a couple tutorials for Sock Snowmans & LOVED this on. I didn't have any knee high white socks so I went to the dollar store and got 2 for $1 & then found a TON of patterned socks that would make the cutest Sock Family! So then my 1 sock snowman turned into a family haha. I was able to find the perfect blue to add to my wreath and got home and busted these out in a matter of 2 hours! My mom had A TON of buttons that I used to embellish them perfectly! I also used some scrap scrapbooking stuff too that i had laying around. I used toothpicks for the noses and painted them with kids washable paint that i had laying around. The white cord string i got on clearance at Walmart for .20!!! It was half a roll but I have used that stuff for more things than i can count!!

 For the 2 small snowman's in the Family, I used my daughters old socks that I had lost the matches too.


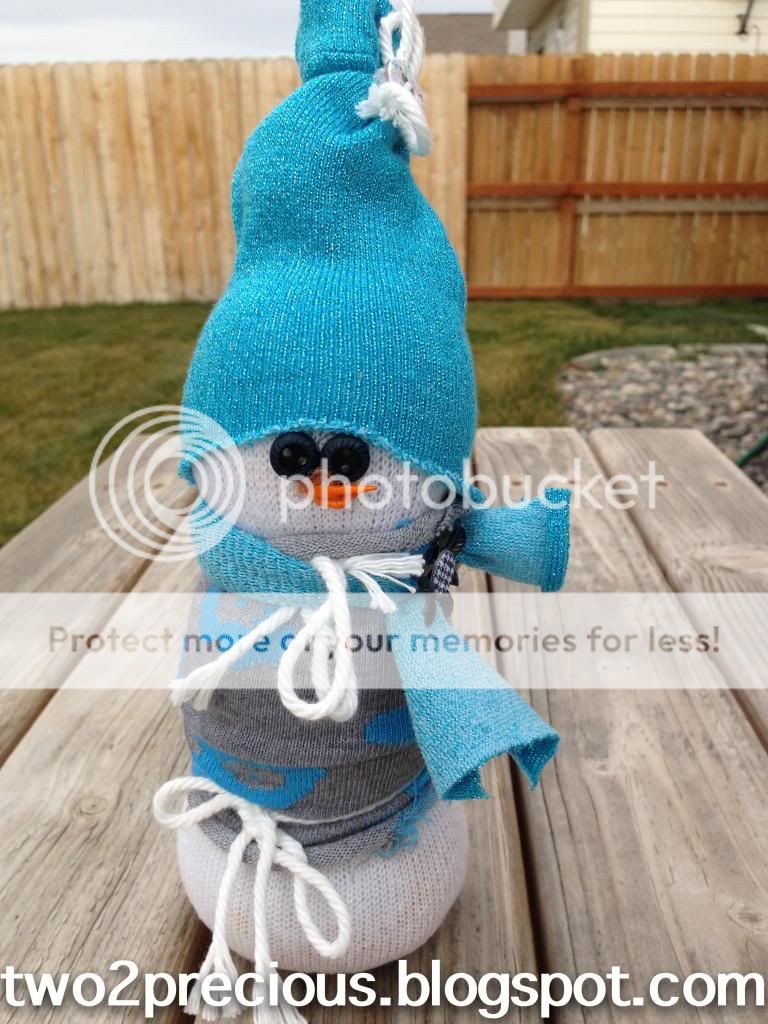
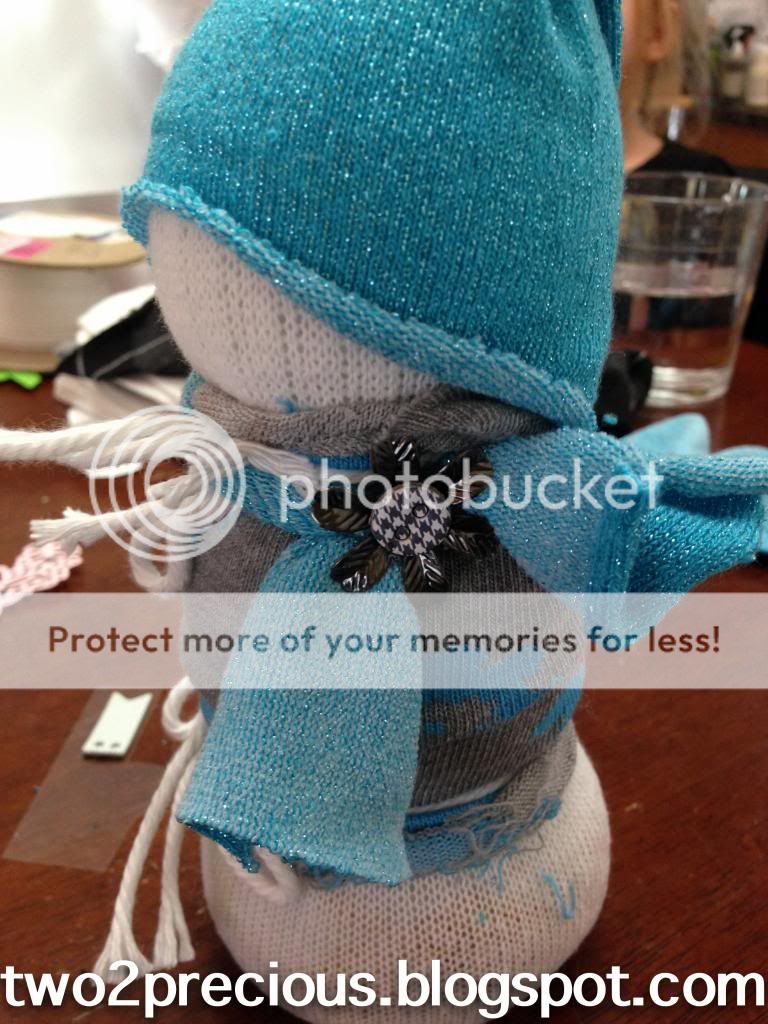
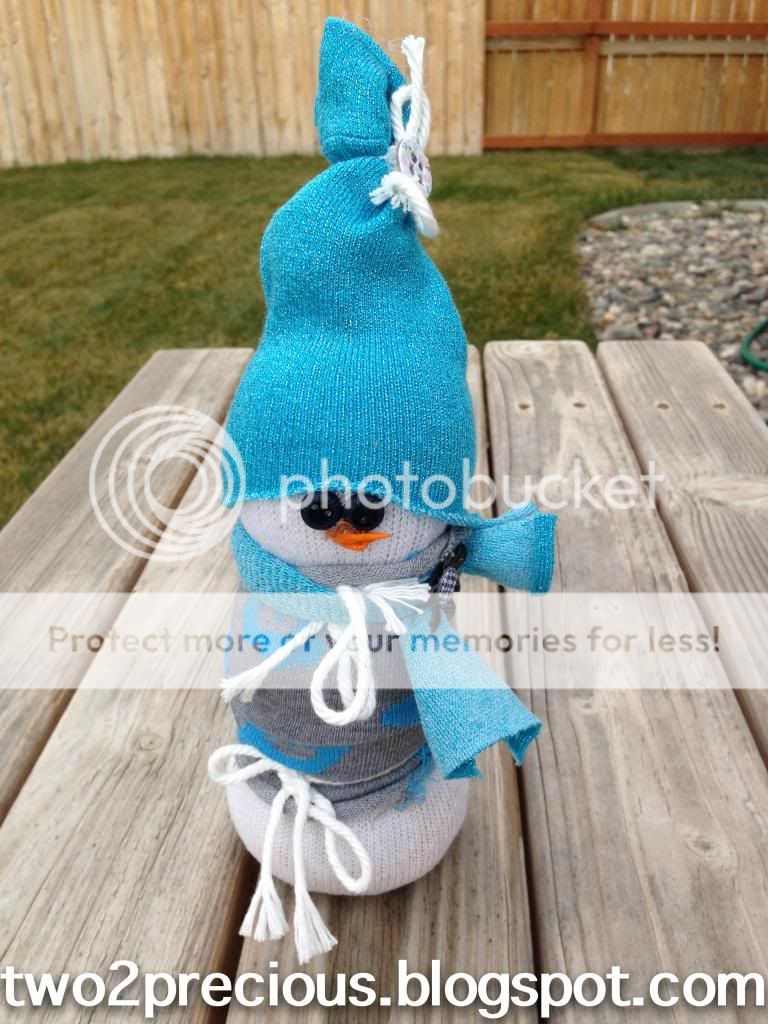
This is the Snowman I made for my Wreath:

I babysat a girl this summer and had her for a school break and her and the neighbor family came over and we made this whole bunch of snowman's. 


Wednesday, December 4, 2013

Mommy & Baby Monthly/Weekly Stickers

My Sister in law recently became preggers with their second baby & as a little gift I made her some Pregnancy Weekly Stickers that she can use to remember her baby bump as it grows. I have seen these all over the internet and wanted to make some that were a little more unique. She picked out the colors she wanted and really like this circle design.  I printed them off on my printer and then used my Silhouette to cut everything out for me. I highly recommend if you do this to use Staples Sticker Paper, its the more economical and works AWESOME! 


I then got a little gift box that they fit perfectly into and "wrapped" them up. 


I totally forgot to take a picture of this but I also added a few stickers that said, "Ultrasound Day","In Labor", "Its a Girl,", "Its A Boy" & "First Kick" I thought of a million others but didn't want to over do it haha. 


My sister in law was attending a Baby Shower and asking if I could make her some Baby Monthly Stickers as well & of course I would LOVE to do that so I designed these Baby Monthly Stickers for her. 


Then with my machine I made a custom box with some paper that coordinated. It was so easy and fun!! I can't wait to make more!!


Monday, November 25, 2013

Baby Food Pouch "Roll Ups"

I found this idea while looking for looking for homemade fruit roll up type snacks. This is such a great idea!!


These are "Fruit Roll ups" using Baby/Toddler Food Pouch food. I used the ones without chunks but i would assume you could do that as well.


I used cookie sheets with Reynolds Non Stick foil but you could use parchment paper as well. 
I then picked out a variety of flavors for the "Roll Ups"


I then emptied the pouch on to the foil, I put 2 different flavors on the same cookie sheet cause i didn't have many cookie sheets to go around.


I tried to spread out the baby food with a spatula but that became hard, I ended up shaking it to spread it out and If I could give one tip, DO NOT make it TOO THIN! IT dries into leather and I think if it was left a little thicker it would be better. 


Then set your oven as LOW as it will go, mine only goes to 170 but I have read 140 is better if you can do that. 


Set the timer for about 4 hours ( thats what i did cause i filled the oven with all the cookie sheets of food i could) but do small intervals so you can monitor the progress of the drying process. Another thought is, use a food dehydrator!! I wish i had one I would have so done this method!


Now, this is the tricky part cause some of mine where thicker and not spread like the others so they all finished at different times and then dumby me got really busy and forgot the other ones and they turned into LEATHER! still good but harder for the little ones to eat. I would suggest keeping them thicker and not letting them dry completely out, like i did :-p


I then Peeled the entire dried piece off the foil and put them on parchment paper and cut them into strips and rolled them up!!


Shame on me never got a finished product but turns out my girls didn't even want to try it!!! I ended up giving them all to my Sister in law and her son loved them! So I would say if i could ever get my girls to try them they would like them also, after all they would eat the food straight out of the pouch just fine! I really want to try making my own puree but that sounds like a another project for another day! :-p
Hope enjoyed this tutorial!! 

Happy Thanksgiving! 

Tuesday, October 15, 2013

Gift giving ideas & update!

Anyone Wondering where the heck I went? Haha! Well Im currently working on A LOT of different projects and hoping next week to update with lots of new things I have created!! 


I recently gave my husbands grandma a small birthday gift of my Lemony Lemon Disposal Tablets and some homemade hand scrub and she really liked them! I wanted to share a few pictures of the packaging I did! Maybe inspire you to come up with a creative idea of your next gift packaging!! Simply just used canning jars and then my Silhouette Cameo to cut out the labels. I really wanted to use chalk board vinyl but I haven't been able to get any yet! I also just used some scrap ribbon i had laying around. I had probably too much fun taking pictures of it too! My daughter thought it was pretty funny i was taking pictures of these! 


I found the recipe for this hand scrub on Pintrest of course!! Here is the link:  Petunia Pink Hand Scrub. It makes a wonderful gift and I LOVE this stuff!!! 

So coming up, i will be posting my huge halloween decoration project im working on. I completed half of it on sunday afternoon. Our house will be a fun place to trick or treat. Not too scary but fun!!! I also will be sharing with everyone my daughters costumes i made. They are almost completed and I hoping to get some really good pictures of them! I did not provide a tutorial, I was in a crazy hurry and just got them done but i will share some links where i found some very helpful instructions!

Wednesday, September 25, 2013

Lemony Lemon Fresh Garbage Disposal Tablets

Once again I have taken a Pintrest found pin & changed it up a bit. I saw this pin while just browsing & loved how cute the packaging was but also loved the fact that I have bought many items in the past to keep my garbage disposal nice and clean, why not just make my own?! 

My thought process behind these ingredients was mostly making a tablet that actually smelled for a long time and gave me that rich lemon smell when I used it. I also had read on the side of the washing soda box that you can use it to clean out drains. So I thought that would be a great addition!! I also added the Lemon EO to really add that strong wonderful lemon smell on top of the real lemons. I have read you can freeze lemon & vinager ice cubes, In my next version of this recipe im going to lightly chop up the entire lemon & add it to the tablet. I also am going to try either a orange or grapefruit scented one. ( Stay Tuned for those Recipes! ) For now im very pleased with this recipe & hope you all enjoy it too!
 Lemony Lemon Fresh Garbage Disposal Tablets


Recipe:

1 1/2 C-Baking Soda
1 1/2 C- Washing Soda
2 C- Kosher Salt ( needs to be a course type ground )
2 Teaspoons- Liquid Dish Soap
4- Lemons
4 Tablespoons- Lemon Essential Oil
For a added boost, you can add a splash or two of vinegar along with a tablet to give it a foaming action & a boost of cleaning power!

PLEASE NOTE: I split this into 2 separate bowls and combined them at the end, its really hard to mix this much quantity at one time, you could certainly just half this recipe too.

1. Combine Dry Ingredients and make sure is a smooth ( not clumpy ) powder.

2. Zest/Grate the entire outside of the lemon into the dry mixture. The more you get off and into this tablet, the better cleaning power and smell you have. Mix that well.


3. Add the dish soap and mix well
4. Juice lemons and add this to the mixture ( if you get a few seeds in the mixture no biggie ) *It will fiz, that is normal *


5. Add the Lemon Essential oil & the mixture should take on a wet sandy type mixture. The color is absolutely amazing and i think the smell is even better!!
6. Take a Tablespoon measuring spoon and squish/mashing it full of this mixture and scrap off the top, then drop these half size balls on to a parchment covered cookie sheet. This is where they will stay until the dry. Make sure you put them in a low humidity area ( for me it took about 24 hours for them to be dry) 

This full recipe made just enough to cover this cookie sheet. 


I then packaged them up in a glass cookie jar. I got this jar at Walmart for a few bucks ( i cant remember now )


Thank you for stopping by and reading! I hope you enjoy this recipe as much as I do! It makes a WONDERFUL! House Warming Gift, Christmas or just about any occasion! Let me know what creative ways you have packaged them up!


Here i posted some really cute ideas for giving this as a gift:

Gift Giving Ideas